


Roblox: Dead Rails is a high-octane, atmospheric survival horror game that blends the frantic resource management of extraction shooters with the post-apocalyptic dread of a world overrun by the undead. In this game, your locomotive is your only sanctuary, your mobile fortress, and your greatest asset. Navigating the "Dead Rails" requires a delicate balance of mechanical maintenance, tactical looting, and split-second combat decisions. Whether you are steaming through the fog alone or with a crew of engineers, understanding the "how-to" of train upkeep and scavenging is the only way to avoid becoming another corpse on the tracks. This guide will provide the roadmap for your journey through the wasteland.
 1. How to Prepare Your Locomotive for the First Run
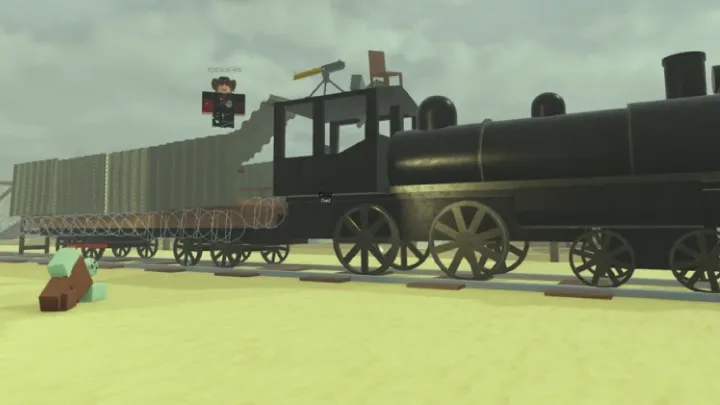
Your journey in Dead Rails begins in the Garage, where you are introduced to your basic steam locomotive. Before hitting the main line, you must understand that the train is a living entity with three critical health bars: Boiler Pressure, Fuel Levels, and Hull Integrity. How you manage these three stats determines whether you reach the next outpost or stall in the dark. Start by ensuring your coal tender is topped off; coal is the lifeblood of your journey, and running out mid-transit is a death sentence.
In the early game, you should prioritize "Weight Management." A heavy train consumes fuel faster and takes longer to brake. When starting out, resist the urge to bolt on heavy armor plates immediately. Instead, focus on "Boiler Efficiency" upgrades. This allows you to maintain higher speeds while consuming less coal. Before leaving the station, always do a "Walk-around" to check for loose rivets—repairing small damage now saves you from a catastrophic hull breach when the zombies eventually swarm your moving platform.
2. How to Manage the Steam Engine and Speed Control
Once you are on the rails, the gameplay shift to a mechanical simulation. You aren't just a driver; you are the stoker and the engineer. To maintain optimal speed, you must keep the firebox within the "Green Zone." Over-stoking the fire leads to a Boiler Overheat, which can damage internal components or cause an explosion. Conversely, letting the fire die results in a loss of steam pressure, slowing the train to a crawl—a perfect opportunity for "Leapers" to latch onto your cars.
H3: The Art of Braking
Braking in Dead Rails is not instantaneous. Because of the momentum of the iron beast, you must anticipate stops hundreds of studs in advance.
- The Air Brake: Uses high pressure to stop quickly but risks locking the wheels and damaging the tracks.
- The Coasting Method: The most fuel-efficient way to stop. Close the throttle early and let the natural friction of the rails bring you to a halt at the loot zone.
- Emergency Reverse: A last-resort tactic that drains massive amounts of steam but can knock back entities blocking the tracks.
3. How to Execute a Successful Scavenging Expedition
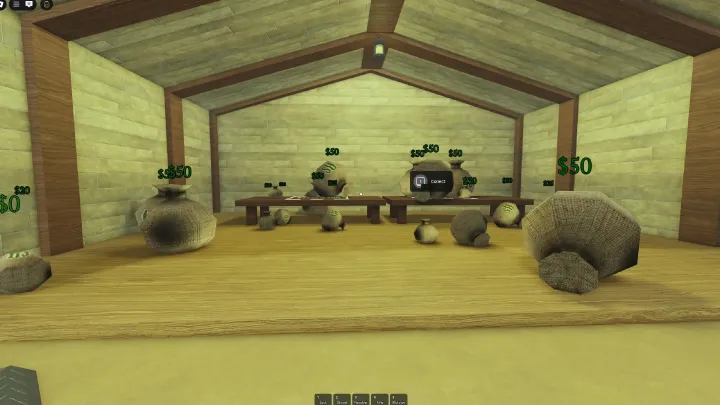
The "Rails" are only half the game; the other half is the "Loot." Scattered along the tracks are abandoned stations, derailed convoys, and derelict factories. When the train comes to a halt, the clock starts ticking. The noise of the steam engine attracts nearby hordes, so you must move quickly. Your primary targets should be "High-Density Scrap" and "Chemical Components," which are necessary for crafting ammo and advanced train parts.
H4: Scavenging Priorities
- Coal Bins: Never walk past a coal pile. Fuel is the most valuable resource in the game.
- Toolboxes: Contain "Wrenches" and "Blowtorches," which are essential for on-the-go repairs.
- Medical Cabinets: In the wasteland, a scratch can turn into an infection. Always secure bandages before looking for luxury loot. When scavenging, always leave one player (if playing in a group) on the train's roof as a "Watchman." Their job is to whistle or flare when they see a horde approaching from the fog, signaling the team to retreat.
4. How to Defeat the Different Types of Undead
The entities in Dead Rails are more than just slow-moving zombies; they are evolved predators designed to stop your train. The most common threat is the "Shambler," which is weak but dangerous in groups. However, you must specifically prepare for the "Rail-Grinder"—a massive, armored variant that can charge your locomotive and deal significant hull damage. To defeat a Rail-Grinder, you must aim for the glowing "Bio-fuel" canisters on its back.
- Leapers: Small, agile creatures that jump from the trees onto the roof of your train. Use a shotgun for close-range defense to knock them off the moving car.
- Spitters: These ranged enemies stay in the treeline and lob acidic bile at your engine, corroding your armor. You must use a scoped rifle to pick them off before the acid eats through your boiler plates.
- The Colossus: A rare boss entity that blocks the tracks entirely. Defeating a Colossus requires a coordinated effort: one player distracts it while others fire the train's mounted harpoon or cannon.
 5. How to Utilize the Crafting Bench and Blueprints
As you collect scrap, you will unlock the ability to use the Crafting Bench located inside your primary cargo car. Crafting is how you transition from a basic survivor to a wasteland conqueror. You must find "Blueprints" hidden in high-danger zones to unlock advanced tech. The most important early-game craftable is the "Reinforced Cowcatcher," which allows you to plow through small groups of zombies without losing speed or taking hull damage.
H3: Ammo and Consumables
You cannot rely solely on found ammo. Use your chemical scrap to craft:
- Incendiary Rounds: Extremely effective against large hordes, as fire spreads between entities.
- Steam Packs: Portable canisters that can be injected into the boiler for an instant speed boost during a chase.
- Armor Repair Kits: Essential for fixing the exterior of the train without having to return to a safe-zone garage. Always prioritize crafting items that keep the train moving over personal weaponry. A dead engine means a dead player, regardless of how many guns you have.
6. How to Navigate the Dynamic Weather and Fog
The world of Dead Rails is shrouded in a "Dynamic Fog" system that affects both visibility and entity behavior. In clear weather, you can see threats from a distance, allowing for long-range engagement. However, when the "Red Fog" rolls in, visibility drops to near zero, and the undead become significantly more aggressive. How you use your train's "Headlights" is crucial; while they help you see the tracks, they also act as a beacon for every monster in the vicinity.
During a storm or thick fog, you should adopt a "Slow and Steady" approach. Turn off the interior lights and dim the headlamps to reduce your "Aggro Radius." If the fog becomes too thick, use the "Sonar Ping" (if researched) to detect obstacles on the rails. Sonar creates a sound pulse that reveals the silhouette of derailed cars or bosses, allowing you to stop or slow down before a collision destroys your engine.
7. How to Upgrade Your Train’s Defense Systems
As you progress into the later regions of the map, your personal firearms won't be enough to keep the horde at bay. You must invest in "Automated Defense Systems." These are mounted turrets that can be placed on the roof or sides of your train. They require their own ammo supply and power from the engine, but they provide 360-degree protection, allowing you to focus on shoveling coal and navigating.
H4: Turret Variants
- Sentry MG: Low damage but high fire rate, perfect for clearing Leapers off the roof.
- Steam-Pressure Cannon: Uses excess boiler pressure to fire heavy slugs. It deals massive damage but reduces your overall speed.
- Flame Jets: Side-mounted pipes that spray fire alongside the train. These are the best defense against swarms that try to climb the sides of the cars. Balancing the power draw of these systems is the ultimate challenge for a late-game engineer. If you activate too many turrets at once, you might stall the engine entirely.
8. How to Manage Your Crew and Roles
Dead Rails is best played as a co-op experience, where "Role Specialization" leads to the highest survival rates. A well-oiled crew divides tasks to ensure the locomotive never stops. The most effective crew layout consists of a Pilot, a Stoker, and a Scavenger. The Pilot focuses on the track ahead and speed control; the Stoker manages the firebox and repairs internal leaks; and the Scavenger handles the turrets and leads ground expeditions.
H3: Communication and Synergy
Use the in-game "Radio" or proximity chat to coordinate.
- The "Loot-and-Scoot": The Pilot keeps the engine idling while the Scavenger jumps off for a 60-second loot run. The Stoker keeps the fire hot so the train can accelerate instantly if a Colossus appears.
- Repair Rotations: During a heavy attack, players must rotate between firing turrets and using the blowtorch on the hull. Neglecting repairs for even a minute can lead to a "Total Hull Failure."
9. How to Expand Your Train with New Cars
You aren't limited to just a single engine. You can find and hitch "New Cars" to your train to expand your capabilities. Each car adds weight but provides unique benefits. Finding a "Medical Car" allows for passive healing of all crew members, while a "Laboratory Car" speeds up blueprint research. The most coveted expansion is the "Tender Extension," which doubles your coal capacity, enabling long-distance treks into the "Dead Zones" where the best loot resides.
To hitch a new car, you must back your engine up to the car and manually engage the "Coupling Pin." This process makes you a sitting duck for several seconds.
- Clear the Perimeter: Use flares to keep zombies away from the coupling area.
- Check the Brakes: Ensure the new car’s manual brakes are released, or you will burn out your engine trying to pull it.
- Weight Distribution: Always place your heaviest cars (like the armored vault) directly behind the engine to maintain stability around curves.
 10. How to Reach the Final Outpost and Beyond
The ultimate goal of Dead Rails is to reach the "Northern Sanctuary," a heavily fortified city at the end of the line. Reaching this area requires passing through the "Great Tunnel," a multi-mile gauntlet of darkness and boss-level entities. This is the final test of your engineering skills. You must enter the tunnel with a fully repaired hull, a mountain of coal, and enough ammo to fuel a small army.
H3: The Final Gauntlet Strategy
- Infinite Light: Use every glow-stick and flare you have. In the tunnel, darkness is your greatest enemy.
- Pressure Overload: In the final stretch, it is often better to "Red-line" the boiler. Take the risk of engine damage to maintain a speed that the undead cannot match.
- The Sacrifice: If the train is too heavy to accelerate away from the final boss, you may need to "Uncouple" your rear-most cargo cars to shed weight, sacrificing your collected loot to ensure the survival of the crew.
Conclusion
Roblox: Dead Rails is a brutal testament to the power of steam and the resilience of the human spirit. Success in this iron wasteland is not found through mindless shooting, but through the careful "How-to" of mechanical maintenance, strategic scavenging, and disciplined teamwork. By mastering your boiler pressure, respecting the lethality of the fog, and upgrading your locomotive into an armored fortress, you can conquer the tracks and find safety in the Sanctuary. The road is long, and the rails are unforgiving, but with a hot firebox and a loaded turret, the wasteland is yours to traverse. Shovel the coal, watch the pressure, and never let the fire die.